Sunday, August 3, 2014

Pizza Dough

I just posted a recipe for BBQ Chicken Pizza, and since many people have a hard time finding a good pizza dough recipe that is easy to work with, I thought I'd share my favorite dough with you!  It's taken me a while to perfect this dough, and the recipe and technique for making it has changed several times, but I think it's finally perfect!

My sister has an allergy to wheat, so I always make this recipe gluten free, but it can be made a wheat dough by simply leaving out the xanthan gum and replacing the gluten free flour with normal flour!  We make our own gluten free flour, but if you want to use store bought that already has xanthan gum, just use an extra ½ tsp xanthan gum for every cup of flour.

1 ⅓ cups body temperature water
1 TBSP yeast
1 TBSP agave nectar or honey
3 cups & 2 TBSP gluten free flour
1 TBSP xanthan gum
1 tsp salt
1 ½ TBSP powdered egg whites (or 2 liquid egg whites)
¼ cup olive oil

Feel free to add chopped herbs, garlic, or extra olive oil to the recipe!  As long as you keep the ratios basically the same, you shouldn't run into any problems.


Whisk together the yeast, agave nectar (or honey), and water until the yeast is dissolved.  If the mixture doesn't begin to bubble within 5 minutes, your water may be either too cold or too warm, so dump it out, adjust the temperature of your water, and start over.


Mix together the flour, xanthan gum (if you're using it), salt, and powdered egg whites.  If you're using liquid egg whites, don't mix them with the dry!


Once your yeast mixture has sat for 5 minutes, add the dry ingredients, then pour in the oil.


Now it's time to mix the dough with my handy dandy KitchenAid mixer!  If you're using gluten free flour, use a paddle for this step, but if you're making a wheat dough, you should use a dough hook.

If you follow my recipe exactly, you should be able to just mix the dough without having to add anything, but you may have to add some extra liquid or flour depending on if you live in a particularly humid or dry place.  If you are making your dough gluten free it needs to be very moist, because the gluten free flour absorbs more water over time.
Once your dough is an ideal texture, form it into a ball, brush or spray it with some olive oil, then cover and let it rise 2 or more hours.


By the time you are ready to use your dough it should be a light dough that holds together easily, but isn't heavy or too sticky.  I haven't had any problems with this recipe so far, and hopefully you don't either!

If you are making your dough gluten free, right before you are about to use the dough, put it back in the mixer and knead it with the paddle attachment once more.  I know it sounds a little weird, and totally goes against all the rules of baking and cooking, but it really helps the gluten free dough hold together.

Use this dough to try my BBQ Chicken Pizza recipe!

My next post will have a recipe for BBQ Chopped Salad that is the ideal companion for my BBQ Chicken Pizza.

To see more of my pictures you can find me on Instagram at @audreygracephotography.

BBQ Chicken Pizza

Since it's summer, and we have a wonderful cooking area with a BBQ, stove, fridge, sink, and lots of space, we've decided to have a family pizza night once every week on either Saturday or Sunday night, and I'm always in charge of making the pizza and salad!  This is also ideal, since making pizza inside is very messy and pizza is better cooked on a BBQ than in an oven.

This week I decided to make BBQ Chicken Pizza!  Now when you order BBQ Chicken Pizza at a restaurant, it's all crust, chicken, and cheese, but I like putting lots of veggies on with my chicken.  It makes the pizza so much better!


Here's what you will need for this delicious pizza:
1 recipe pizza dough (recipe will be in my next entry)
5 raw chicken breasts
½ cup corn
2 cans olives, drained and rinsed
1 can black beans, drained and rinsed
1 red onion, sliced
2 large bell peppers, sliced, or 2 cups sliced mini peppers
12 ounces mushrooms, finely sliced
Shredded Gouda and Mozzarella cheese, mixed together
2 cups baby spinach, minced
1 bunch cilantro, minced
1 16 oz. bottle pizza sauce from Trader Joe's
½ bottles Carolina BBQ Sauce from Trader Joe’s

Pour ½ bottle of Carolina BBQ Sauce over the chicken.  Cover and marinate for at least 3 hours.


About 1 ½ hours before you want to eat, BBQ the chicken, making sure to keep it moist.


After 7 minutes, flip the chicken and cook for another 7 minutes.

To help keep the chicken moist while cooking, brush with leftover marinade during the cooking process.


Make 1 recipe of your favorite pizza dough (there will be a recipe for my favorite dough in my next post) and let rise about 3 hours before you want to eat.


1 hour before you want to eat, preheat oven or barbecue as hot as possible, with 1 or 2 pizza stones.  Most ovens only heat up to 500*, which is why a barbecue is ideal.

In a medium bowl, mix the bottle of pizza sauce and remaining 1 bottle of Carolina BBQ Sauce.

Once you have all your ingredients prepped, lay them out in your work space in the order that you're going to put them on your pizza.  I usually put the cheese on last, that way it melts onto everything.


Once your cooking area is all clean and organized, it's time to start rolling out the dough.  When it comes to rolling out pizza dough, there are three golden rules:
1. Use a LOT of flour.
2. Make sure there aren't any cracks on the outside of your ball before you start rolling it out.
3. Roll from the inside out.
I roll my dough pretty thin, so that it's more toppings that crust, but everybody has their own preference.

You can leave the edges of your pizza flat if you want to, but I usually fold mine over and brush them with olive oil.
Use a ladle to swirl a thin layer of the BBQ/pizza sauce mixture around the pizza.
 
Make sure you spread the sauce all the way to the edges so they are flavorful.

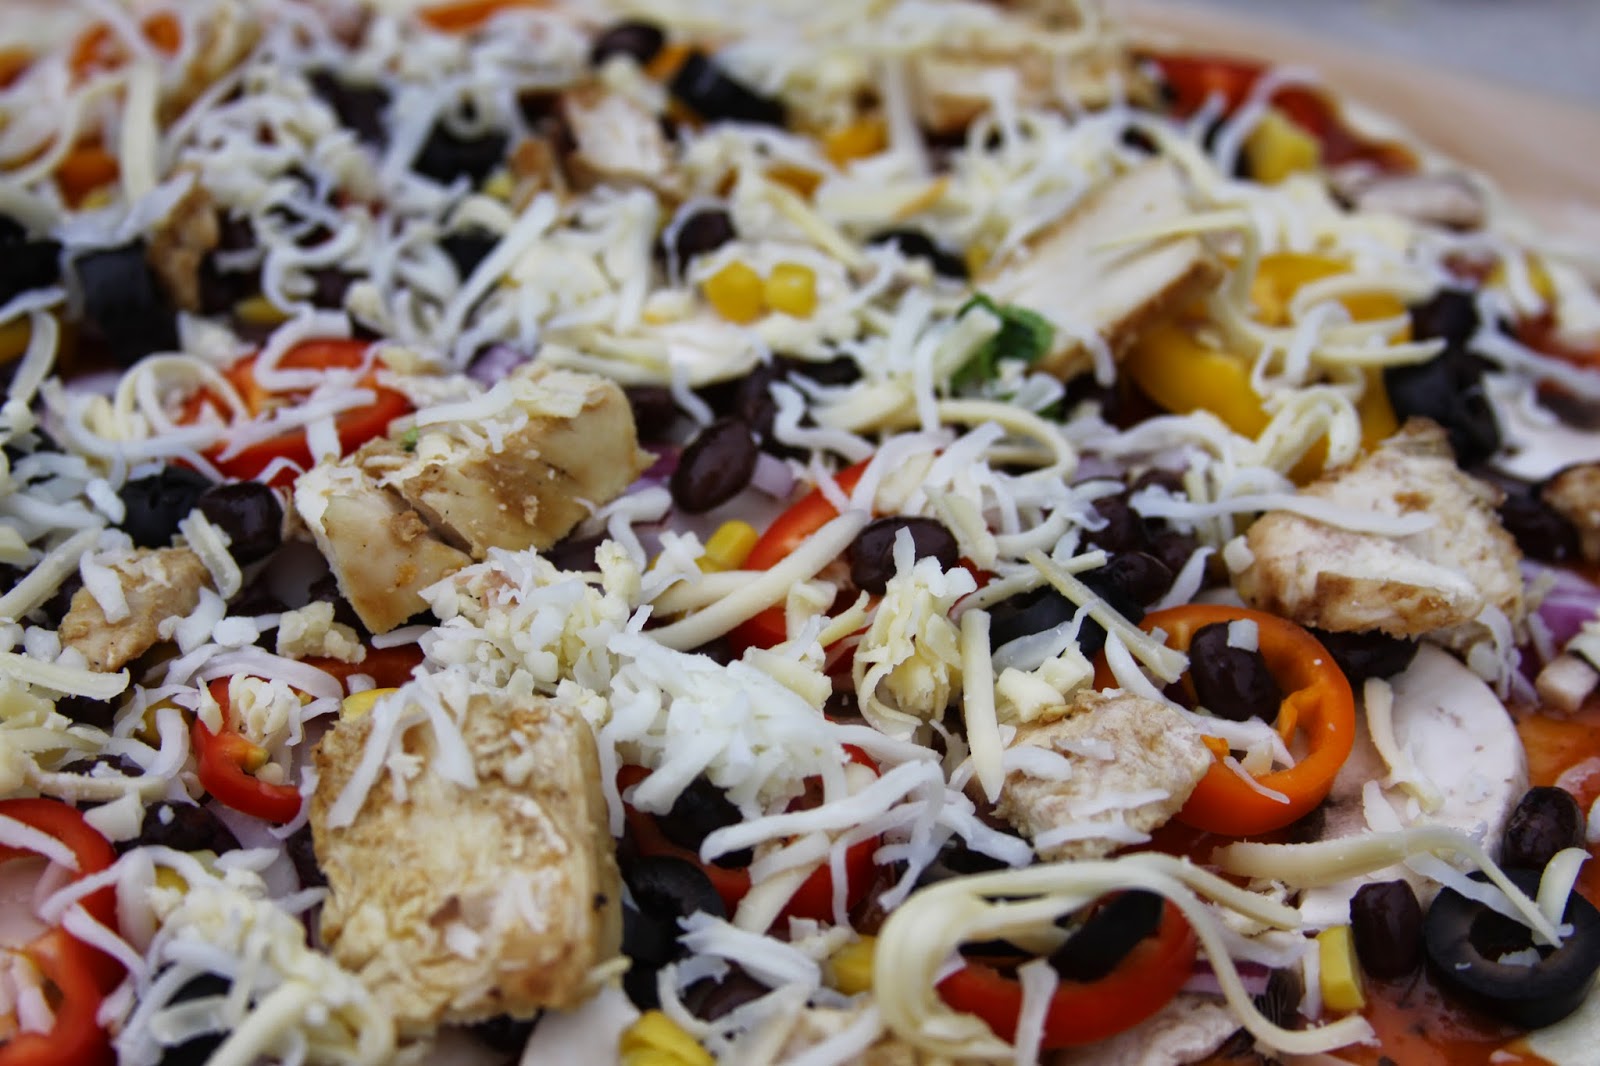
Add the mushrooms, onions, bell peppers, olives, corn, black beans, and chicken that you prepared earlier, and sprinkle with a thin layer of cheese.  Don't be afraid to use a lot of toppings!

Put the pizza in your oven or barbecue and cook until it is sizzling and slightly crispy.
Sprinkle on a light layer of the spinach and cilantro you sliced earlier, then finish cooking the pizza.  This way, the spinach and cilantro aren't raw, but they're not burnt either.


Once your pizza is cooked just the way you like it, take it out of the oven or BBQ with a pizza peal.

Transfer your pizza to a cutting board or platter to cool, then slice into eighths!  Repeat this process with all of your ingredients, or until you run out of pizza dough.
 This delicious pizza is best served with a Chopped BBQ Salad over a bed of lettuce.  The recipe for the Chopped Salad and BBQ Dressing will be in my next post!


And if you're as lucky as me you'll get to enjoy this wonderful meal outside watching a beautiful summer sunset!


To see more of my pictures you can find me on Instagram at @audreygracephotography.

Thursday, March 20, 2014

Enchiladas!!!

Every week my family always has an enchilada night, and it's usually our favorite meal of the week.  Now when I say enchiladas, you probably think of the unhealthy guilt food that's loaded with chicken and cheese, but our enchiladas are much better.  My mom helped me make them because I have a hand injury that must be rested, but I still took pictures!

Our enchilada filling has . . .


  • 2 cans black beans
  • 1 can olives
  • 1 onion
  • 5 cloves garlic
  • 3 large sweet potatoes
  • 1 can Trader Joe's Green Chiles
  • 1 package Trader Joe's Taco Seasoning Mix
  • 2 bags tortillas (ideally handmade from Trader Joe's)
  • 2 bell peppers
  • 1 jar salsa (I used Rojo's Tomatillo Avocado Salsa)
  • 1 bag cheese (I used Trader Joe's Fancy Shredded Lite Mexican Blend)
  • Olive oil (for coating pan)
  • 1 can of Kirkland Tomato Sauce
  • 1 cup sour cream


. . . so they are very healthy and delicious!

Roughly chop 3 large sweet potatoes.  Be careful with the knife!  A good technique to avoid getting cut is to hold all of your fingers up and away from the knife, using your palm to press down.

Put the sweet potatoes in a glass bowl and microwave them for 10 minutes.  I know it seems like a long time, but you need them to be soft!

Cut one onion into quarters.

Put it and five cloves of garlic into a Cuisinart Food Processor.  Nothing's good without garlic!

Pulse the onion and garlic until they are finely chopped, but not smooth.

Put them into a pan with preheated olive oil.

Pulse 2 red bell peppers in a Cuisinart Food Processor until they are finely chopped, but again, not smooth!

Add them to the pan with the onions and garlic and turn the heat to high.

Open 2 cans of plain black beans, 1 can of olives, 1 can of Trader Joe's green chiles, and put them in a colander to drain.  Don't rinse them!

Once the canned ingredients are drained, add them to a Cuisinart Food Processor.

Pulse them until they form a paste.  The reason for all the pulsing is so that the filling forms a kind of paste, then it doesn't fall out of the enchiladas.

By now the sweet potatoes should be soft, but if they stay on the fork like this, put them in for another 2 to 5 minutes.

Maybe it's just me, but I love this Rojo's Tomatillo Avocado Salsa.  I put it on practically all of my mexican food!  But if you don't have it, you can use any other kind of mexican salsa.

Add about ¼ cup of salsa to the bell pepper/onion mixture and mix.

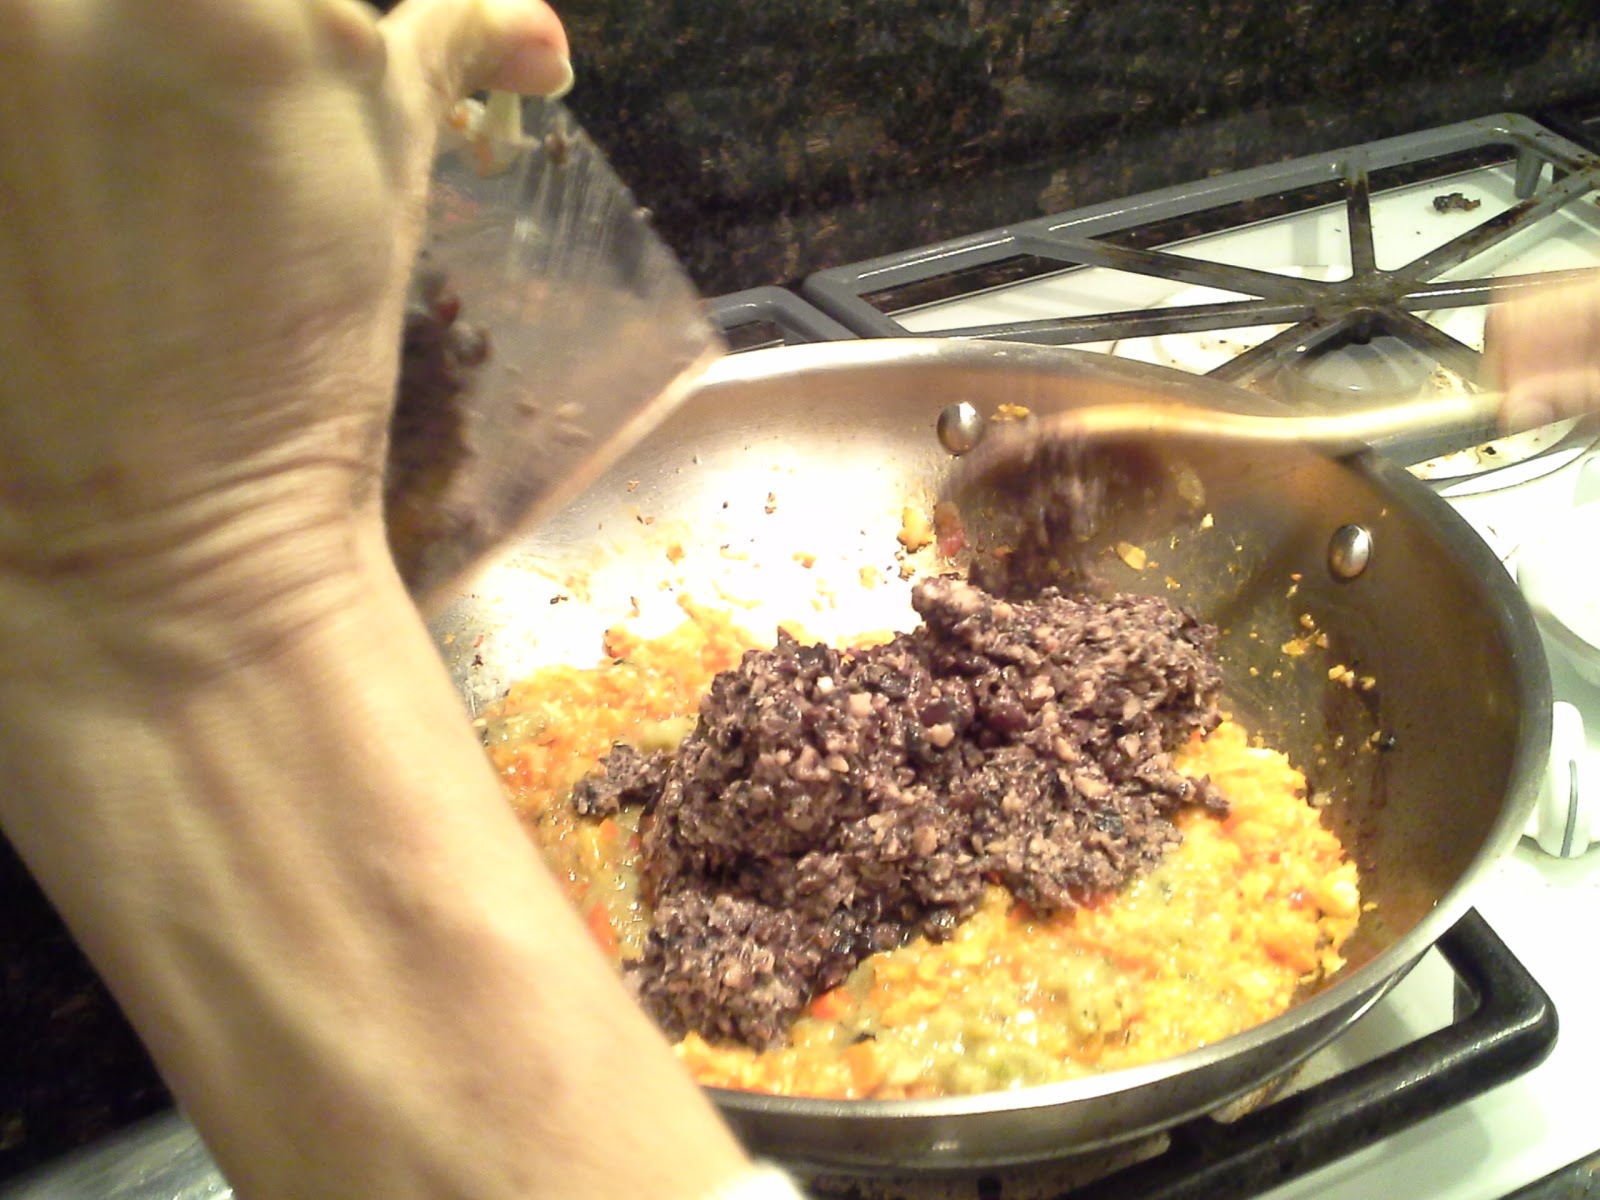
Add all of the bean paste to the pan and stir thoroughly until it's all mixed in.  This takes a while, the paste is kind of thick!

Now normally I would NEVER use prepackaged seasoning, but we recently found this wonderful Trader Joe's Taco Seasoning Mix that has just the right amount of everything, so I'm making an acceptation!

Add half of the package to the taco filling and stir thoroughly.

There is some cheese in this recipe, so I use Trader Joe's Fancy Shredded Lite Mexican Blend.  Add ¼ cup of the blend to the filling.
Put half of the sweet potatoes into the Cuisinart Food Processor and pulse until a paste forms.  Repeat this process with the other half of the sweet potatoes.  If you do all of them at once, they won't mix properly, so don't go thinking you an save time!

Add all of the sweet potatoes to the filling, stir thoroughly, and turn of the heat.

Now it's time to make the sauce!  This is what makes the enchiladas so good!  Put 1 can of Kirkland Tomato Sauce, ¾ cup salsa, ½ sour cream, and the rest of the taco seasoning mix into a 4 cup measure.

Mix well until all of the ingredients come together to form a beautiful, tasty sauce!

Now for assembling the enchiladas!  But first, I think we need to have a talk about tortillas.  Many people think that all tortillas are the same, when in fact, some are much better than others!  That's why I buy Trader Joe's Handmade Tortillas instead of the ones from the grocery store that are filled with preservatives and corn syrup.  Well I'm glad we've had this talk, now lets get back to cooking!

Scoop a generous amount of filling onto the middle of a tortilla,

Roll it up,

And put it in a 13"x17" glass dish.  Repeat this process until all of the filling is gone, which should be about 2 pans of enchiladas.

Once all of your enchiladas are assembled and lined up in their pans, coat them in the sauce,

Sprinkle them with the Trader Joe's Fancy Shredded Lite Mexican Blend cheese, and put them in an oven preheated to broil.  Once the cheese on the enchiladas is melted, take them out of the oven.  Let them cool for 5 minutes before eating, them dig in!

I promise you everyone will love these healthy enchiladas just as much as (if not more than) regular ones.  I certainly do!